-40%
Caidrox Dual Lens GPS Camera HD Car DVR Dash Video Recorder G-Sensor Night Vis
$ 41.82
- Description
- Size Guide
Description
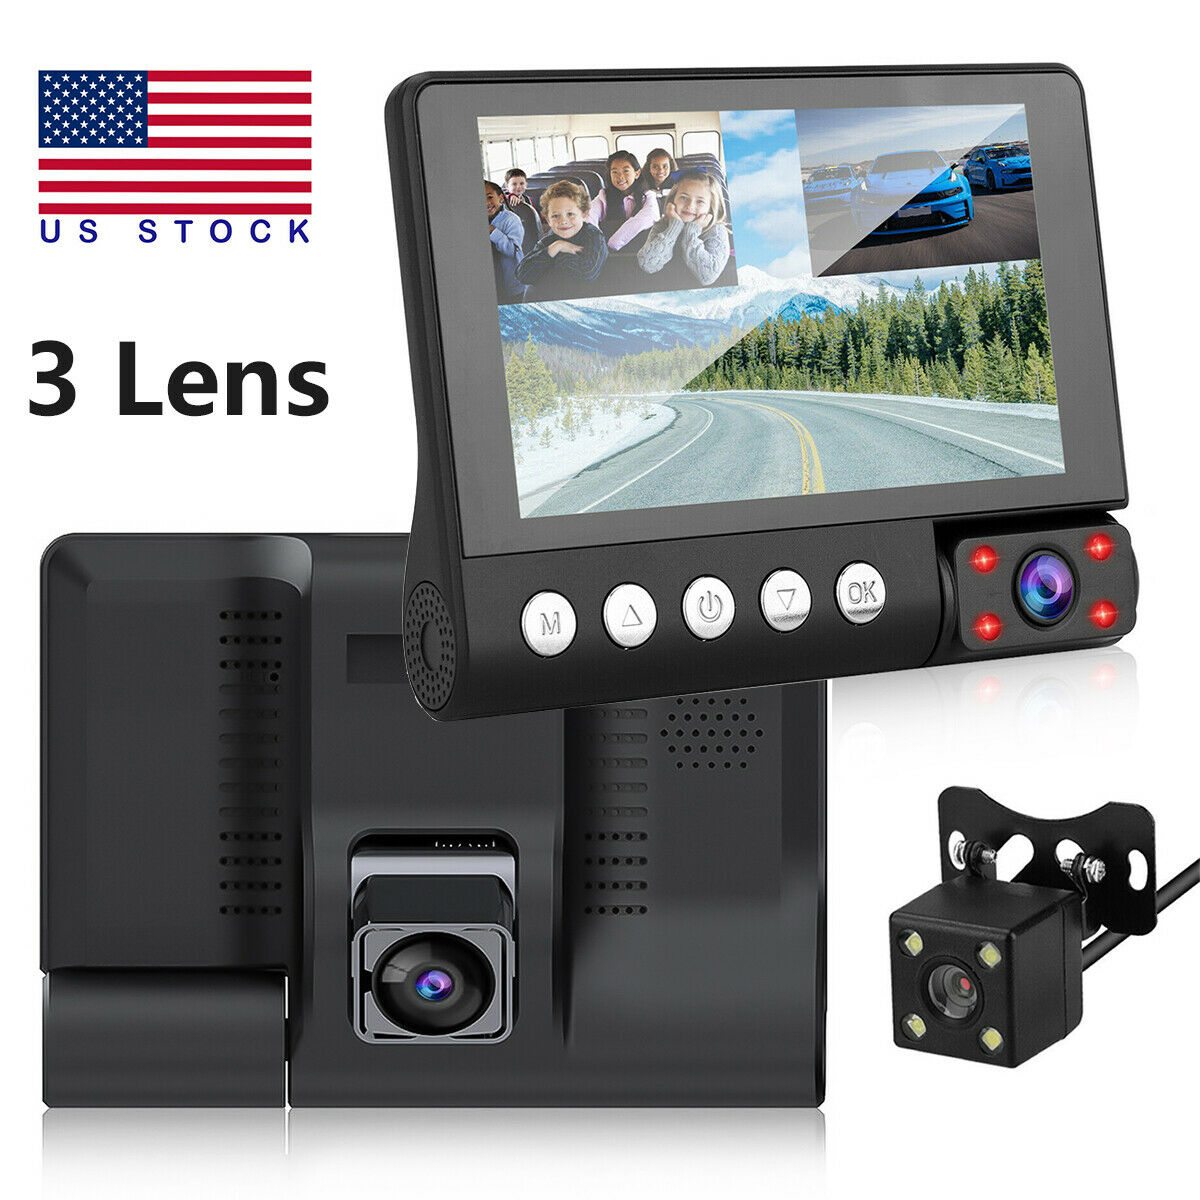
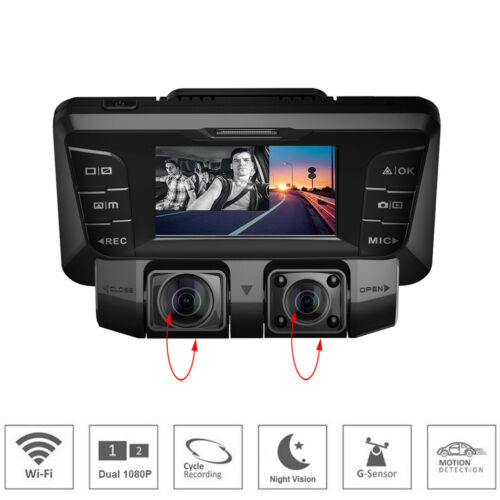
New Open BoxDual Lens GPS Camera HD Car DVR Dash Cam Video Recorder G-Sensor w/ Night Vision
Description
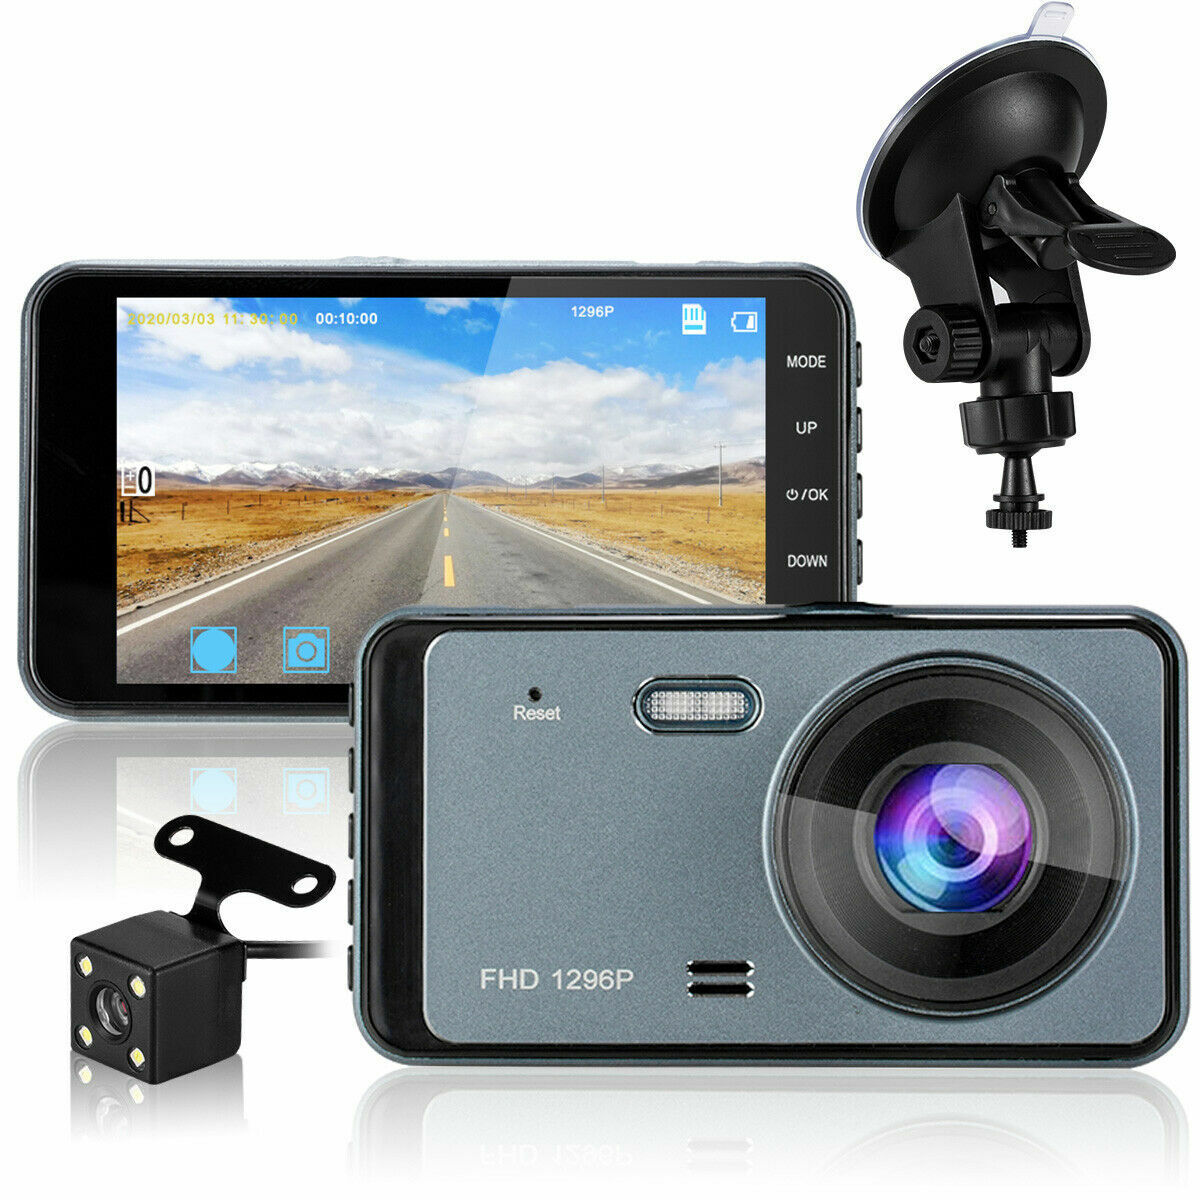
1296P FULL HD DASH CAM
- Car driving recorder, for recording during the day and night, with high resolution 1296P FHD lens; There is a 4 inches Lager LCD Screen, it delivers clearer videos & images and replay the key moment. And you may control the dash camera by fingers directly, for with touch panel.
WIDE ANGLE
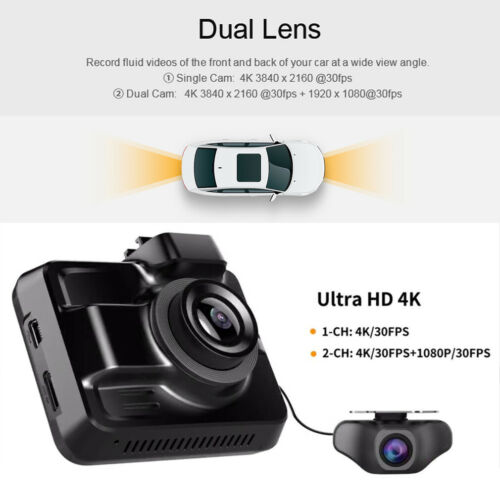
- This car driving recorder employs 140° wide angle lens, both front camera and rear camera. super wide field of view reduces the blind spots and captures more details.
CLASS A 6 LAYERS GLASS LENS
- Fine Moire control.
BUILT IN G-SENSOR
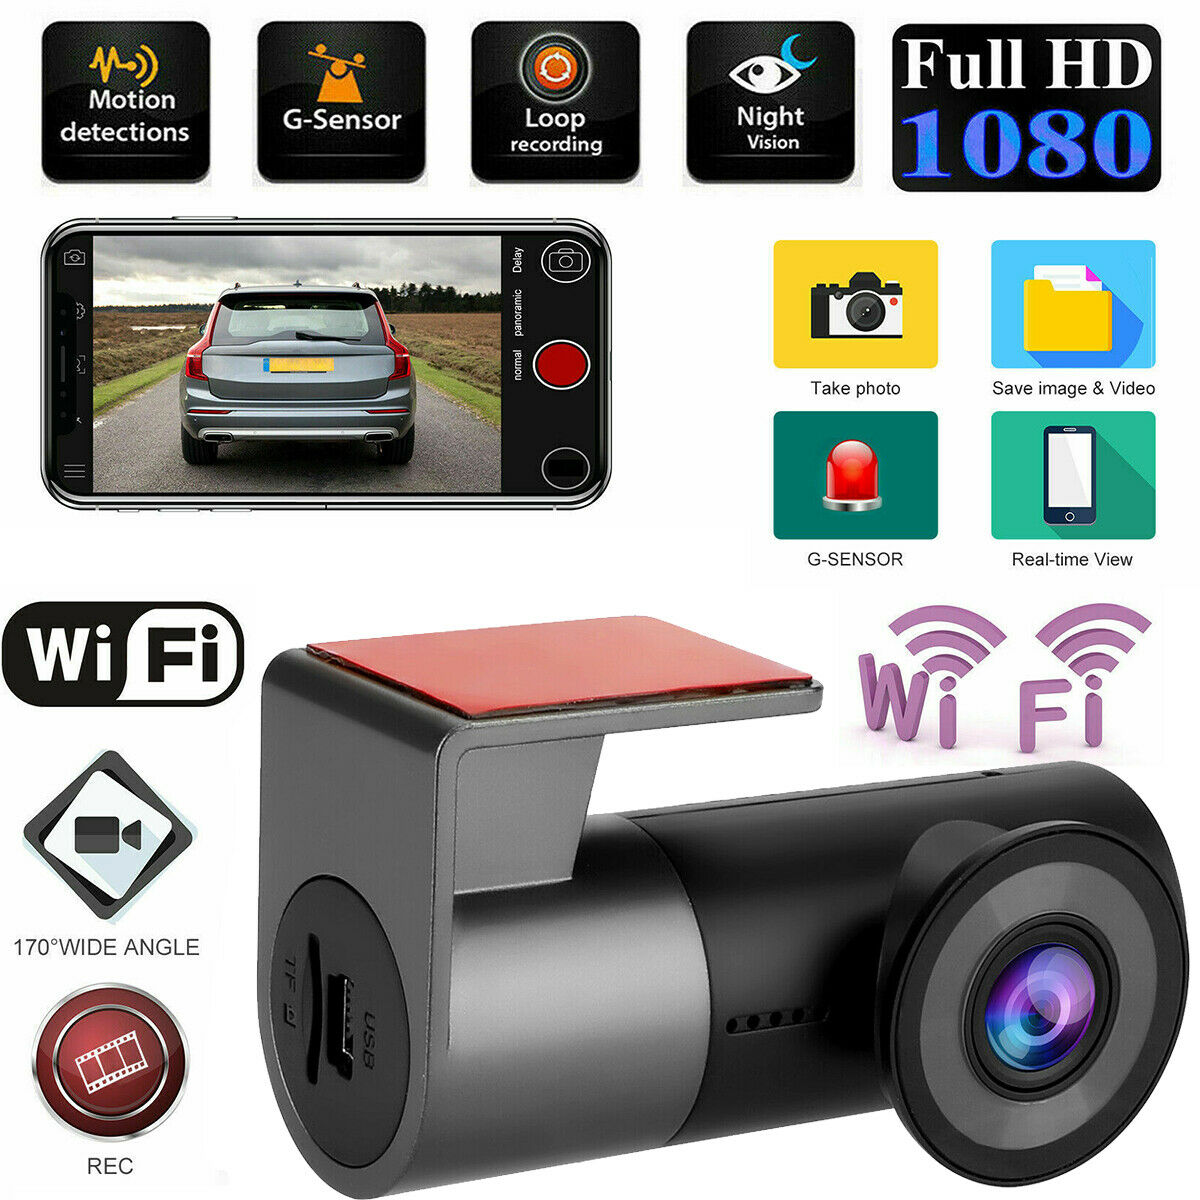
- With built-in G-sensor, the dash camera could detect a sudden shake/collision automatically, and then the Important clips will be locked and will not be overwritten. Accident scene can be truly restored.
ONE-BUTTON LOCK
- You may lock the current video clips manual, by push the “MODE” or “MENU” button, which on the right side of the camera, or press the “Lock” icon on the screen.
SUPER NIGHT VISION
- With the large aperture, WDR and HDR technology, the Dash Camera could ensure the clarity of images at night, even in low light environments. No need auxiliary lights.
Motion Detection/Parking Monitor functions
- When the camera detects movement in front of your car, the camera will start auto-recording. Please use the OBD power installation which has low voltage protection (only for 12V Vehicles) to achieve 24 hours' Monitoring.
EASY TO SET UP
- Very easy to installation and operation, no need to worry even for a first-time user.
EASY TO USE
– It automatically starts the Seamless Loop Recording, when you turn on the engine; you could turn on the Motion Detection/Parking Monitor functions, just by open one switch in the menu only.
Take pictures
- You may take pictures, by push the “DOWN” button, where on the right side of the camera, or press the “Take Picture” icon on the screen.
Automatic RVC function
- The RVC function will start automatically when reversing.
How to install the dash camera
Step 1:
Decide where to place your dash camera: We suggest to attach the dash camera to the windshield by suction mount. It is best to put it in a position that doesn’t obstruct your view or distract your attention as you drive.
Step 2:
Install micro SD card to the dash camera.
Step 3:
Insert the power adaptor to your car power socket.
Step 4:
Install the power cable: We suggest to put the power cable into the headliner. The headliner should properly conceal it. It might be necessary to take the A-Pillar trim off, so that you can run the cable along with other wires already embedded in the A-Pillar.
Step 5:
Install the rear camera to the tail of the car, by the 2 screws.
Step 6:
Install the rear camera cable: It is necessary to connect the red wire to the positive pole of the reversing lamp, for automatic RVC function when reversing. Then, to install the cable for to connect the dash camera. We suggest to put the rear camera cable into the top ceiling. The top ceiling should properly conceal it. It may be necessary to get technical assistance from the car vendor.
Step 7:
LDWS adjustment for the rear camera. Please see the user manual for the detail.
Step 8:
The dash camera is ready for use.
